An attached ADU can be a smart move for homeowners here in Cupertino. Maybe you've got an aging parent who needs to be closer, or you're looking for some rental income to help with those property taxes. Whatever the reason, turning part of your existing home into a separate living space isn't like building a shed. It's a real construction project, and you need to go in with your eyes open.
Before You Start: The Paperwork and Planning
First things first, you can't just start knocking down walls. The City of Cupertino has rules, and you'll need permits. This is where most homeowners get tripped up, and honestly, it's usually where you want to bring in a pro. I've seen folks try to navigate the planning department themselves, and it can be a headache. You're dealing with zoning ordinances, building codes, and architectural review if your property is in a special district.
What can you do yourself? You can certainly brainstorm your needs. How many bedrooms? What kind of kitchen? Will it have its own entrance? Sketch out some ideas. Measure your existing space. Think about where plumbing and electrical lines already run – that can save you a ton of money if you can tie into existing systems without major rerouting.
You'll need a good set of plans. Unless you're a licensed architect or designer, you'll need to hire one. They'll draw up the blueprints that the city requires for permits. They'll also help you understand structural implications. For instance, if you're converting a garage, will the existing foundation support new loads? What about fire separation between the main house and the ADU? These aren't things you want to guess about.
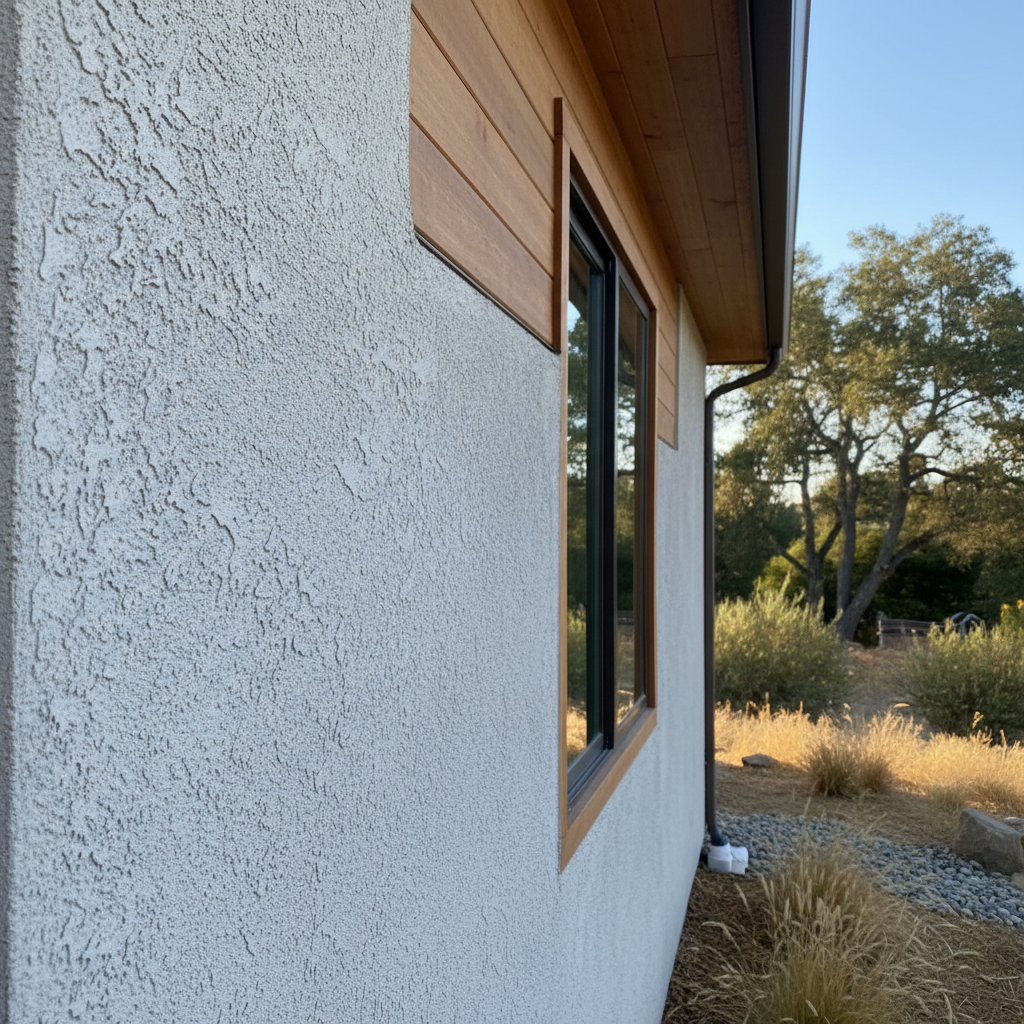
Another big one: utilities. An attached ADU usually needs its own sub-meter for electricity and possibly gas, and separate water shut-offs. Sometimes, if you're just converting existing space and not adding significant new load, you might be able to get by with shared meters, but that's something to confirm with the city and your utility providers early on. Don't assume anything.
During the Build: DIY vs. Professional Help
Once you've got your permits, the real work begins. This is where the 'how-to' really kicks in, and where you decide how much sweat equity you're willing to put in.
- Demolition: You can absolutely do your own demo. Tearing out old cabinets, ripping up flooring, removing drywall – that's all doable. Just make sure you know what's behind those walls before you swing a hammer. You don't want to hit a live electrical wire or a water pipe. Turn off utilities to the area first! And rent a dumpster; you'll generate more trash than you think.
- Framing: Unless you're an experienced carpenter, leave structural framing to the pros. This isn't just about putting up studs; it's about making sure everything is plumb, level, and strong enough to meet code. If you're altering load-bearing walls, you absolutely need a professional.
- Plumbing and Electrical: This is almost always a job for licensed professionals. Messing up plumbing can lead to leaks and water damage, and faulty electrical work is a fire hazard. Don't risk it. Even if you think you're handy, the city inspectors will scrutinize this work closely, and they'll want to see permits pulled by licensed tradespeople.
- Insulation and Drywall: Insulation is pretty straightforward. You can install batts or rigid foam yourself. Drywall hanging can be physically demanding, but many homeowners tackle it. Taping and mudding, though? That's an art form. If you want smooth walls, you might want to hire a drywall finisher. A bad mudding job will show through every coat of paint.
- Flooring, Painting, and Trim: These are great DIY projects. Laying laminate, LVP, or even some tile can be done with patience and the right tools. Painting is a classic homeowner task. Installing baseboards and door trim is also very achievable. This is where you can save a lot of money and really personalize the space.
- Cabinets and Fixtures: Installing pre-fabricated cabinets is another good DIY task. Hooking up sinks and toilets can be done by a handy homeowner, but again, if you're unsure, call a plumber. Installing light fixtures is usually straightforward if the wiring is already in place.
For the big stuff – the foundation changes, the structural framing, the new roof if you're expanding – you'll want a general contractor. Someone like Cupertino ADU Solutions can manage the whole project, coordinate the various trades, and make sure everything is up to code. It costs more upfront, but it can save you a lot of headaches and costly mistakes down the line.
After the Project: Final Touches and Occupancy
Once the construction is done, you'll have final inspections. The city inspector will come out and make sure everything was built according to the approved plans and meets all codes. Don't move anyone in until you get that final sign-off. Trust me, it's not worth the hassle if they find out you're occupying an unpermitted space.
Then it's time for the fun part: furnishing and decorating! If you're renting it out, make sure you understand landlord-tenant laws. If it's for family, enjoy the new space. One thing to remember in our area, especially with older homes around places like Monta Vista, is that soil conditions can be tricky. Make sure your foundation work was done right, because settling can cause issues later on. Your contractor should have accounted for that in the plans.
Building an attached ADU is a big undertaking, but it's incredibly rewarding. Just be realistic about what you can do yourself and when it's smart to bring in the experts. It'll make the whole process smoother and ensure you end up with a safe, functional, and beautiful new living space.